How To Use Planner
Planner is a modern platform to manage, plan or collaborate in projects. You can create tasks and use a Kanban board to manage them. You can assign these tasks to others, schedule and organize them and add files to these tasks so that you can use Planner for your own work or for planning tasks for a team or a project. In the Schedule view, you can see an overview of the tasks and their schedule. In the Charts view, you can view charts of your tasks and their progress.
You can use Planner in your browser or in MS Teams. There are special apps for using Planner on Android and iOS devices. These instructions refer to using Planner in the browser and in Teams.
For information on accessibility for people with visual impairments, please contact the Microsoft support.
Using Planner in your browser
To use Planner in your browser, please go to https://tasks.office.com/uni-mannheim.de/de-DE/Home/Planner/ and enter your login information.
How can I login?
Login employees and doctoral students
Login students
Then select the “Planner hub” view on the left hand side.
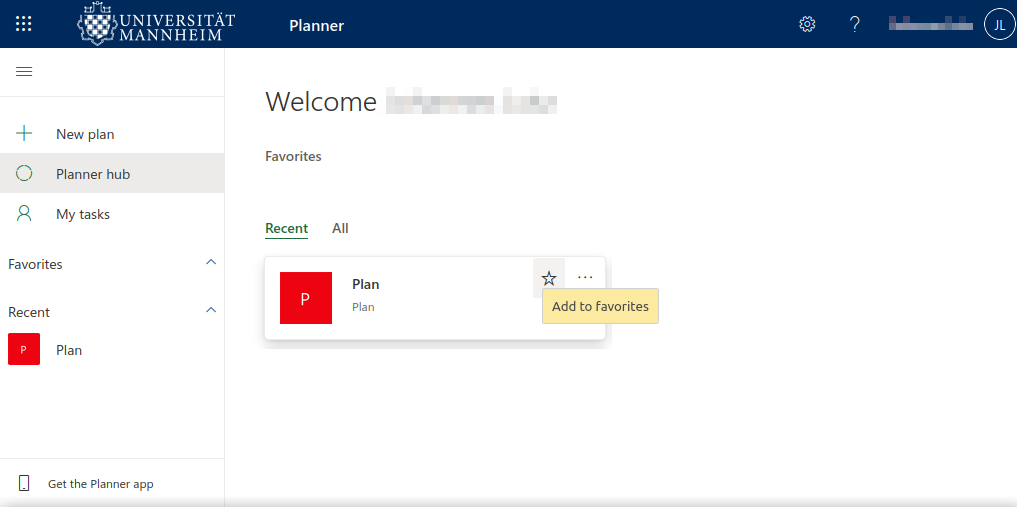
The Planner hub provides an overview of plans that you have created and you are a member of. As a rule, the plans are listed according to the date that you last accessed them. You can see all plans and add them to your favorites by clicking the star. The plan will then be pinned to the top.
How to create a plan in my browser
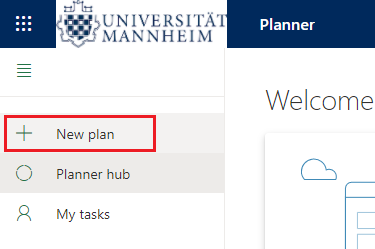
Click “New plan” in the menu bar at the left.
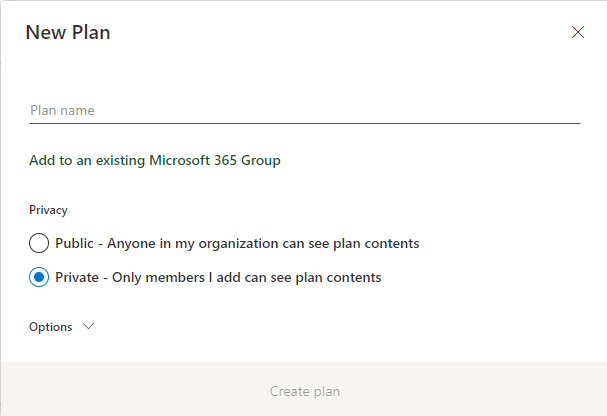
Enter a name for the plan in the window that opens. You can assign the plan to an existing Microsoft 365 group (for example a team in Microsoft Teams). When it comes to the privacy options, you should select “Private”. If you chose the “Public” option, all staff members of the University of Mannheim can access this plan. In the “Options” section, you can describe the plan. To complete the setup, please click “Create plan”.
As an alternative, you can also create a plan in Microsoft Teams or in a team in Microsoft Teams. Please see the instructions “How to create a plan in Microsoft Teams“ and ”How to create a plan within a team in MS Teams“.
Please note: If you also want to access the plan in Teams, you need to assign the plan to a team that already exists in Microsoft Teams. The name of the Microsoft 365 group you have to search corresponds with the name of the Team.
How to create a task
First, open the plan to which you want to add new tasks. Click „+ Add task“ in the column to which you want to add a task.

Enter the name of the task at the top. In addition, you can set a deadline and assign the task to other persons. You can change the name of the task at any time. Just click the field with the name and enter the new name.
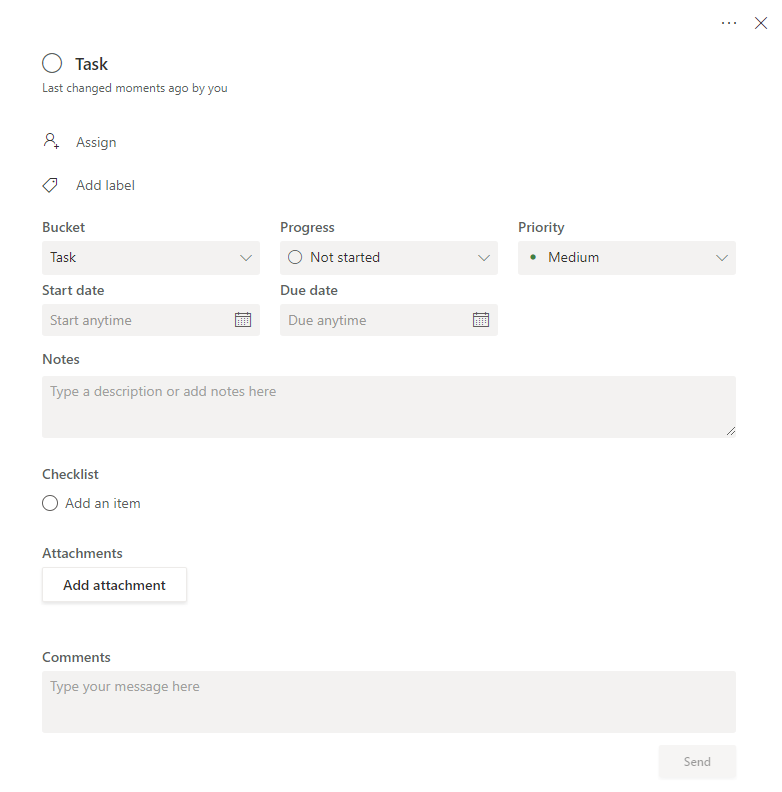
After you have created the task, you can open the task. In the details view, you can modify the other options for this task.
Inter alia, you can specify the priority of the task or add further explanations in the notes field. With the help of the checklist, you can also divide the tasks into smaller tasks. You also have the option to attach files by using the “Attachment” option.
How can I structure tasks? (Create bucket)
Within a plan, you can create buckets in order to structure your tasks. This way, you can combine similar tasks and you get a better overview of your tasks.
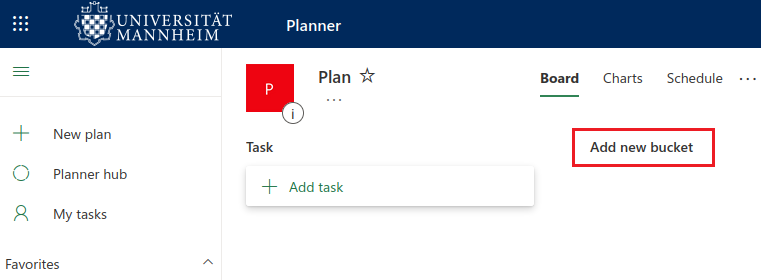
- Open the plan for which you want to create a new bucket. Then click “Add new bucket” and enter a name. You can also modify the name later on with a simple click.
- Then you can add new tasks to your bucket. Just follow the instructions described in the section “How to create a task“.
- With drag & drop, you can move the tasks you already created to other buckets and change the order of the buckets.
- If you have more buckets than can be displayed on your screen, you need to scroll to the right to add a new bucket.
How can I see my tasks in Planner?
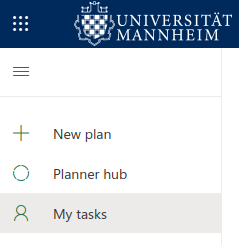
In the menu at the left, click “My tasks”. Here you can see all tasks from all plans that have been assigned to you.
In the menu bar, you can choose the following views:
- “Board”: Tasks listed according to buckets.
- “Charts”: An overview on the current status of your tasks.
- “Schedule”: Calendar view where you can see your tasks and their deadline.
What can I do in the Plan view in my browser?
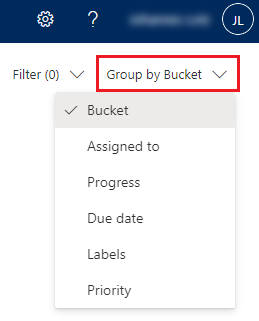
If you select a plan in the Planner Hub, you get to the Plan view of this plan and see all tasks within this plan. You can choose how the tasks should be grouped. The option is in the upper right corner.
You also have the option to add someone to a plan and to create new tasks as well as buckets.
How to add a person to a plan in my browser
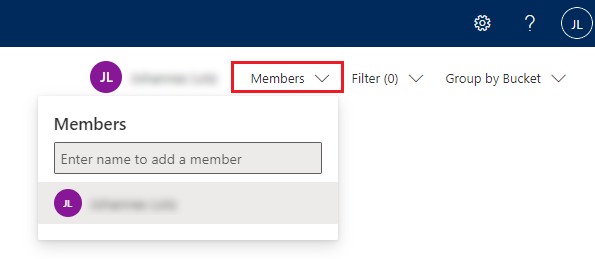
Open the plan to which you want to add a person. In the upper right corner, click “Members”. Enter the name of the persons you want to add to the plan.
Using Planner in Microsoft Teams
You can access your tasks and plans in Planner also via Teams. In Teams, go to the menu on the left-hand side and click the three dots.
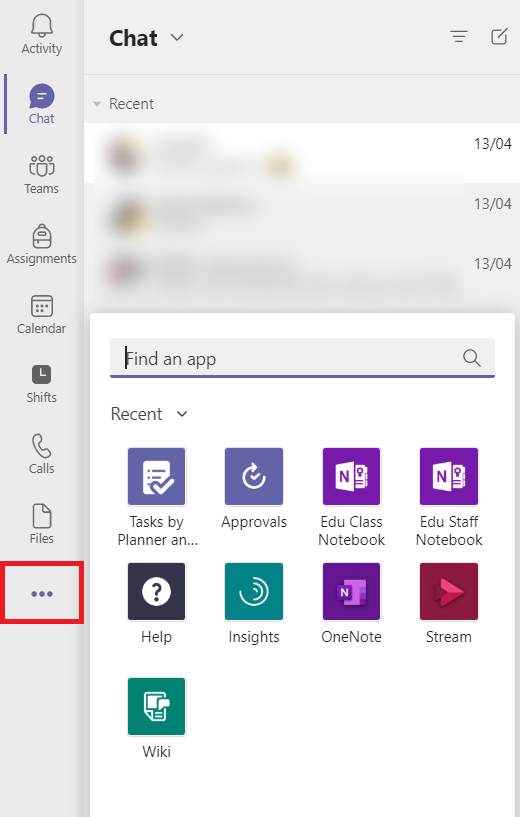
In the window that opens, click “Tasks by Planner and To Do”. If you cannot see this option, enter the name in the search bar and select the option there.
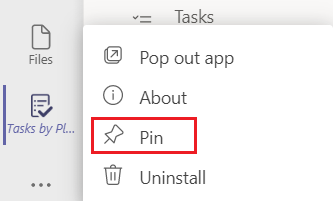
If you want to permanently add the app to your menu, use the right mouse button to click “Tasks by Planner and To Do” and select “Pin”.
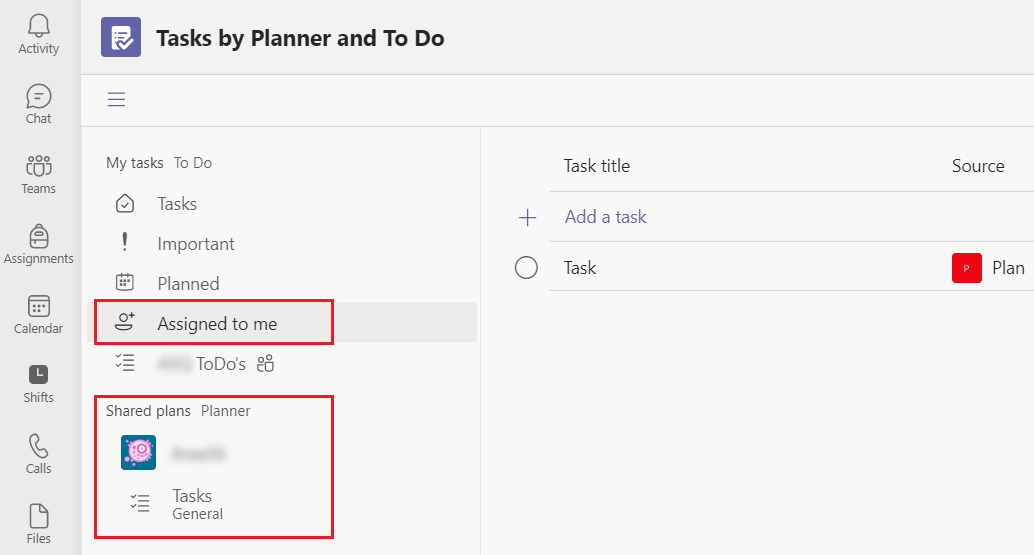
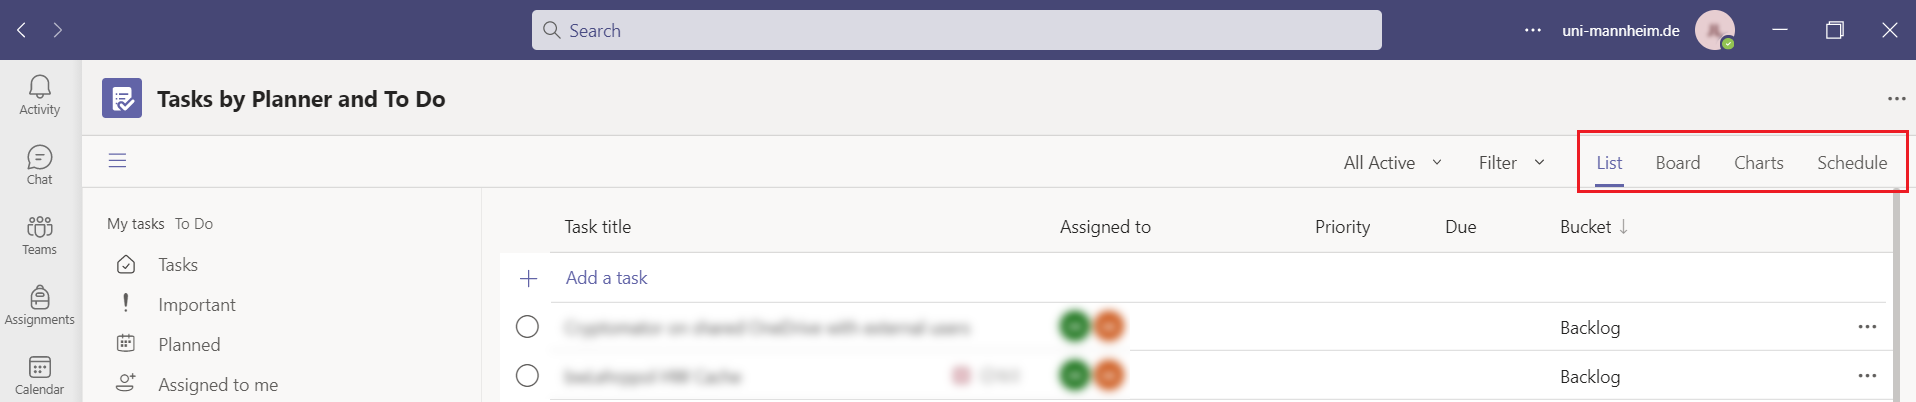
If you open “Tasks by Planner and To Do”, you will find a menu divided into two groups at the left-hand side. First, you have “My tasks”, where you can open the tasks assigned to you. Second, you have a list of the plans of which you are a member and that have been assigned to the channel of a team.
If you open a plan, you will see the tasks of this plan in a list. However, you can also switch to the view you see in your browser. The option can be found in the upper right corner at the top of the list view.
Click on the name of a task to open the detail view. Then you will see the same options that you also see when using Planner in your browser.
How to create a plan in Microsoft Teams
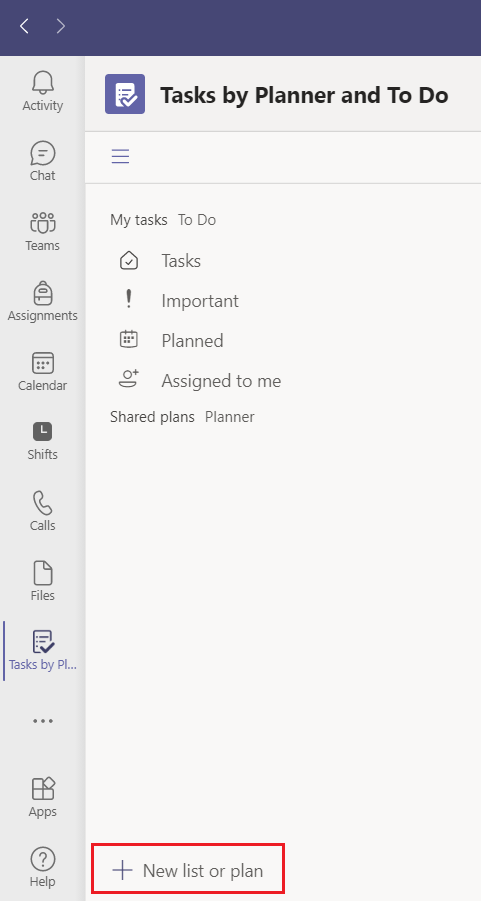
You can create a plan via Teams if you go to “New list or plan” in the lower left corner. In Teams, you can only create plans for teams that already exist.
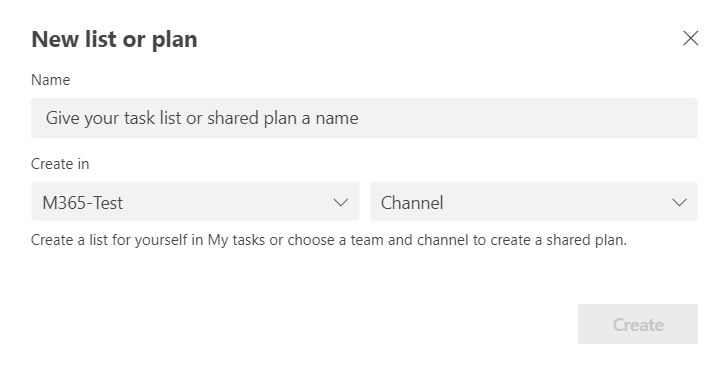
When you are completing the “Create” step, select the team for which you want to create the plan. Then you can select the channel to which you want to assign the plan.
If you chose “My tasks” when completing the “Create” step, a personal list will be created. You will then see the list in the “My tasks” section.
Alternatively, you can create a plan in your browser or from a team in Microsoft Teams. Just follow the instructions under “How to create a plan in my browser” and “How to create a plan within a team in MS Teams”.
How to create tasks in Microsoft Teams
Creating a task in Microsoft Teams is just like using Planner in your browser. Follow the instructions under “How to create a task”.
How to create buckets in Microsoft Teams
Setting up buckets in Microsoft Teams is similar to using planner in your browser. Just follow the instructions under “How to structure tasks”.
How to create a plan within a team in Microsoft Teams
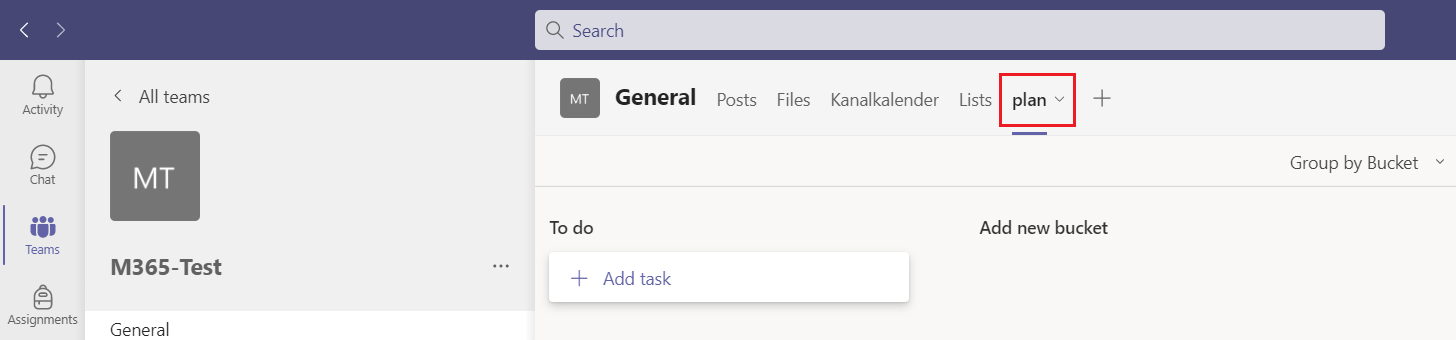
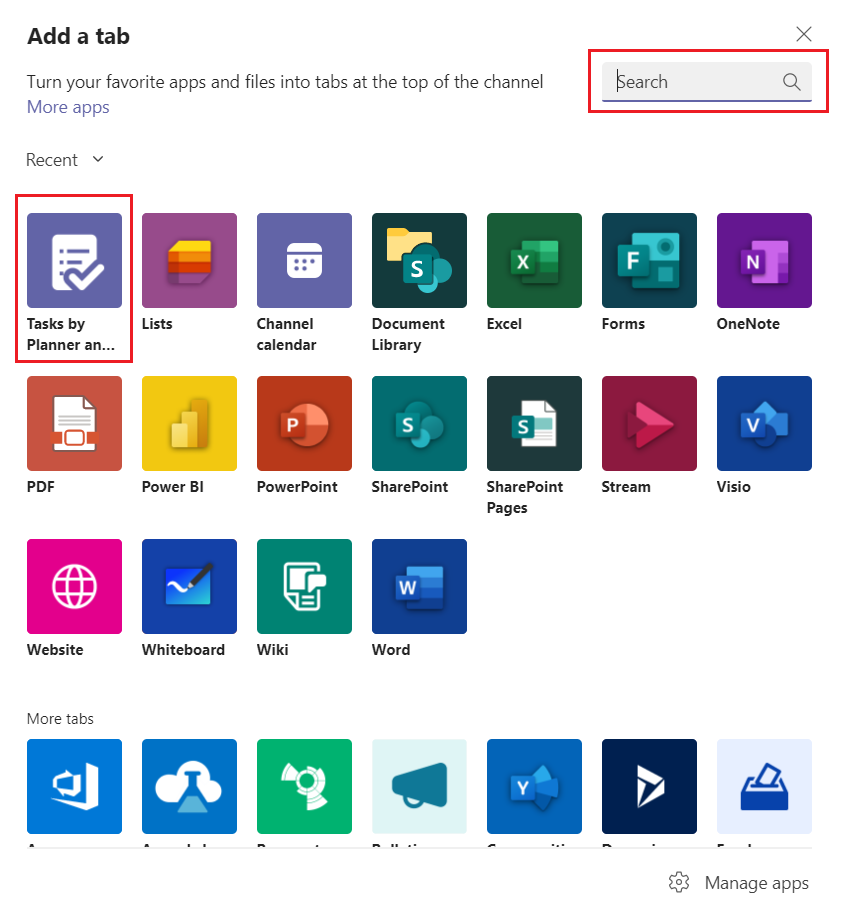
Go to the team and then to the channel for which you want to add a plan. By clicking on the + symbol in the menu bar at the top, you can add a tab for a plan.

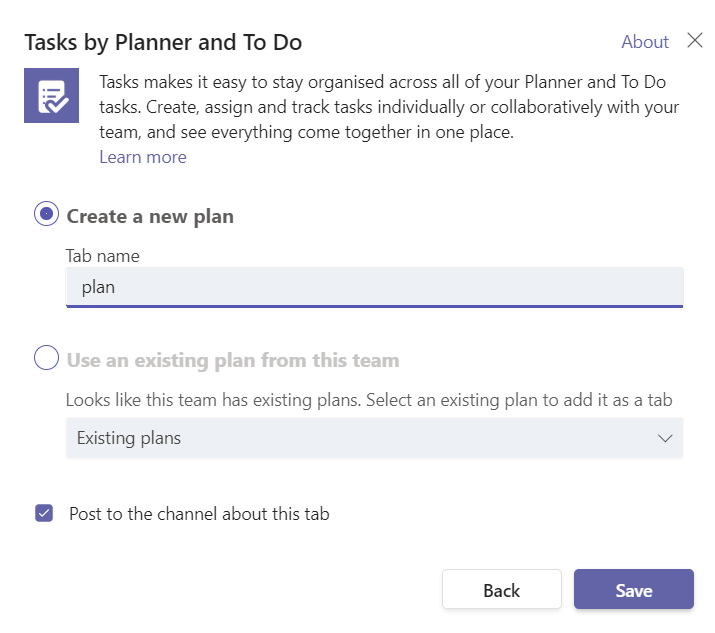
In the window that opens, select “Tasks of Planner and To Do”. If you cannot see this option, you can also use the search feature at the upper right corner.
In the window that opens, you can create a plan, if you go to “Create a new plan”, enter a name and click “Save”.
If you already created a plan in your team, you can also create a tab for this plan by using the option “Use an existing plan from this team” in order to access this plan from within the team.
You can access the plan you added if you click on the tab with the name of the plan.
You can also create a plan in Microsoft Teams or in your browser. Just follow the instructions described under “How to create a plan in my browser“ and “How to create a plan in Microsoft Teams”.