Word Filter in Inbox-Rules to Fight Spam E-Mails
1. Create a new word filter rule to fight spam e-mails
You can create your own word filter for your Exchange mail account to fight spam e-mails. If you do not wish to receive e-mails from entire domains, please refer to the chapter on blacklists in our Mail Gateway instructions.
Check your junk folder regularly after you have created the word filter rule.
Please proceed as follows:
Step 1:
Open the Outlook Web App (OWA).
Step 2:
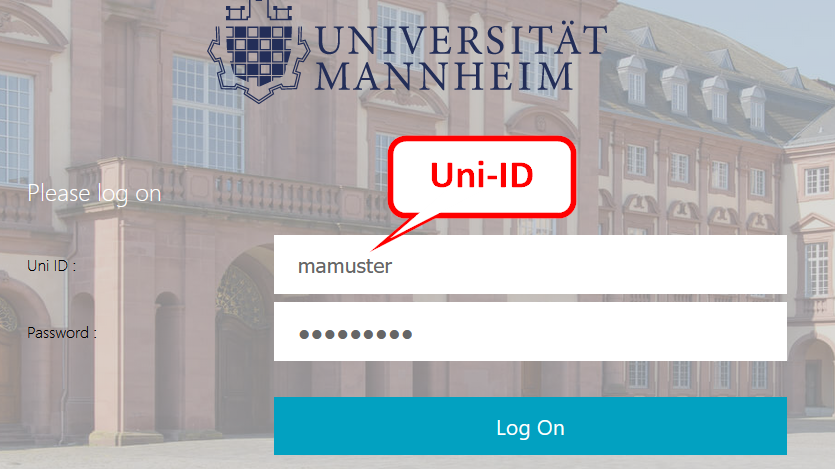
Enter your Uni-ID in the “user name” field and the password for your Uni-ID in the password field. Then click “Login”:
Step 3:
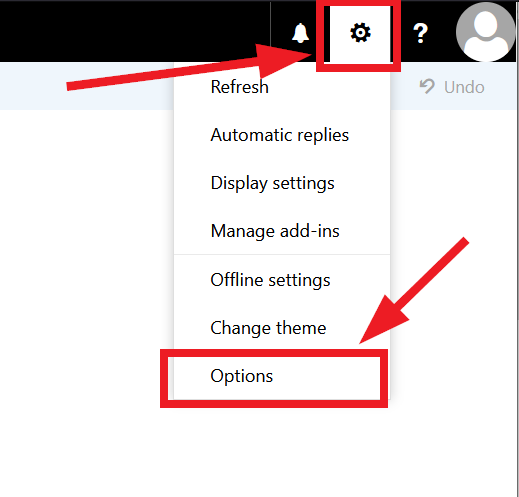
You will then get to your e-mail inbox. Click on the gear symbol in the upper right corner to access the settings and then the “Options” button:
Step 4:
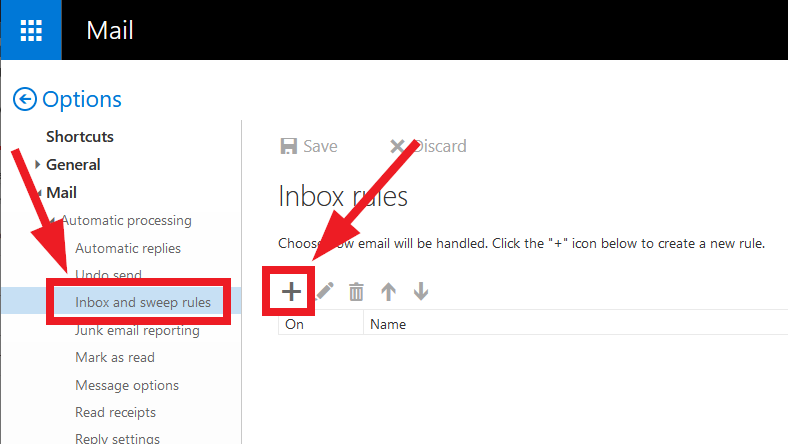
Click on “Inbox and sweep rules” and then on the “+” symbol in the menu which opens:
Step 5:
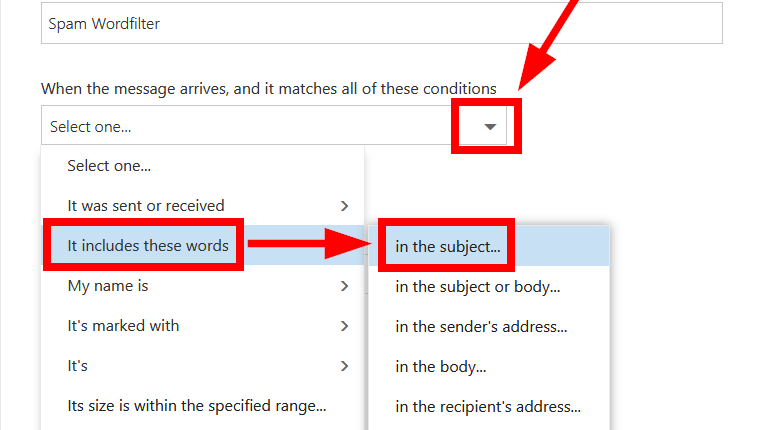
Enter a name for the rule and then click on the drop down menu under “When the message arrives [...]”, and then on “It includes these words” and then on “In the subject line...”:
Step 6:
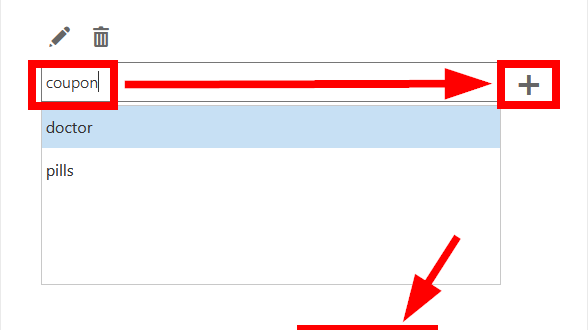
In the window which opens, enter the words you want to filter. After each word, click on the “+” symbol and confirm by clicking “OK”:
Step 7:
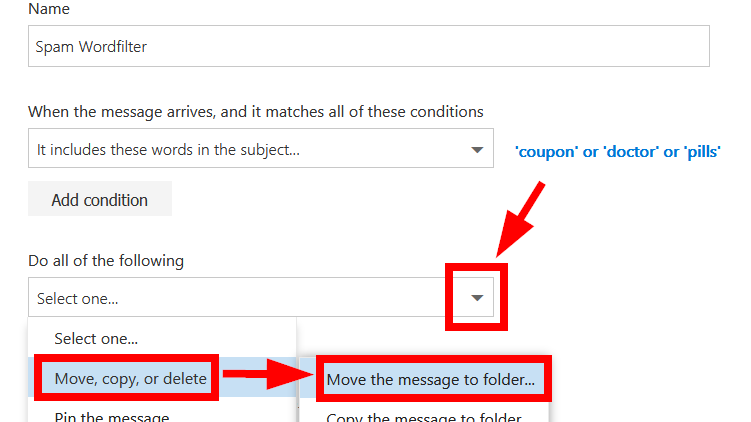
Then select “Do all of the following”, please select the option “Move, copy or delete” and then “Move message to folder...”:
Step 8:
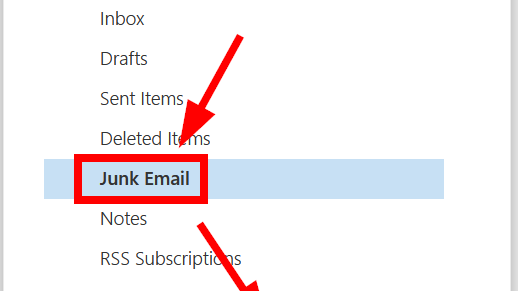
Select the junk folder and confirm by clicking “OK”:
Step 9:
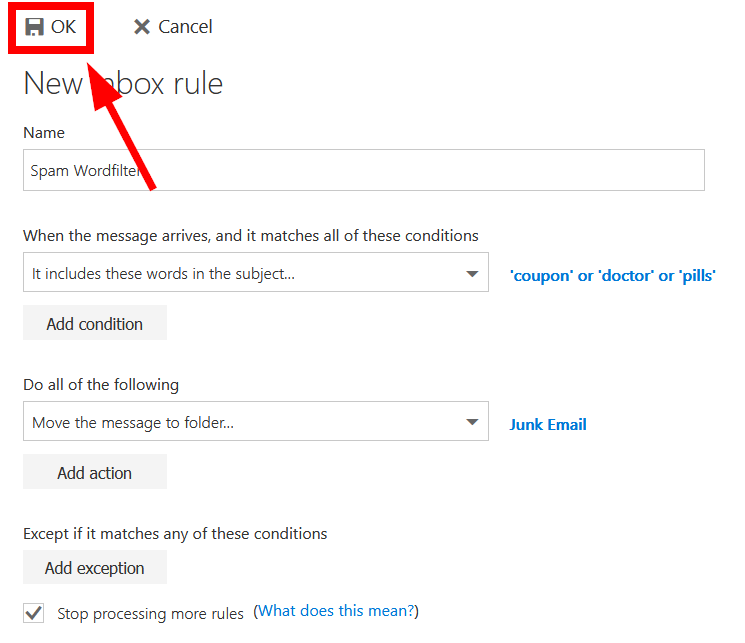
Save the rule by clicking the “OK” button:
2. Add words to the spam word filter
You can add additional words to the spam word filter rule. Please proceed as follows:
Step 1:
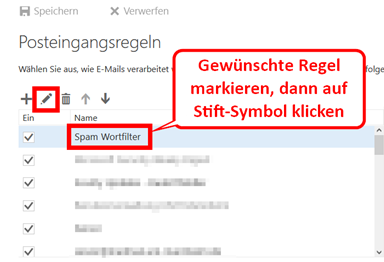
Proceed like in the instructions above to go to the inbox rules.
Step 2:
Mark the spam word filter rule by clicking on it and then click on the pencil symbol:
Step 3:
Click on the list of words in the opening window to open the list of words:
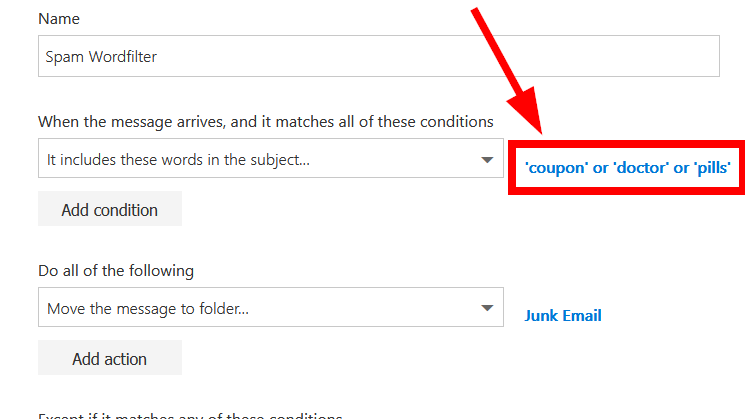
Step 4:
Then add additional words and save the rule.